Thursday, December 16, 2010

The Twelve Beers to Christmas - 9

The Twelve Beers to Christmas - # 9
Schoolmaster Brewing, Nierra Sevada

Sierra Nevada is one of my favorite beers, so I decided to brew a clone of it.  My beer, Nierra Sevada is a close match.  It has a very similar malt profile and while the hops taste correct, there need to be more of them.  I'm happy with my first attempt at a clone brew and already have my second attempt fermenting in the secondary.  I submitted this beer to competition and used the BJCP score sheet to modify the recipe.   It is a great beer and very drinkable.

In this segment, "The Twelve Beers to Christmas" I will be sharing a beer each day leading up to Christmas. 

Wednesday, December 15, 2010

The Twelve Beers to Christmas - 10

The Twelve Beers to Christmas - # 10
Sierra Nevada, Pale Ale

A true American Classic, beautifully brewed and bottle conditioned.  The hops just scream West coast and help to transport you from your cold and snowy home to warmer Northern California.  So show some holiday cheer and hoist a pint to Ken Grossman, brewery founder and craft beer revolutionary, this holiday season.

In this segment, "The Twelve Beers to Christmas" I will be sharing a beer each day leading up to Christmas.

Tuesday, December 14, 2010

The Twelve Beers to Christmas - 11

The Twelve Beers to Christmas - #11
Southern Tier - Old Man, Winter Ale, Seasonal

With its nice malty base this beer has winter written all over it, but its followed up by an impressive amount of hops.  The bottle advertises only two types of malt and three types of hops go into this beer.  A great brew to sip on if you want the sweet warmth of malt but still can't part with your addiction love of hops.

In this segment, "The Twelve Beers to Christmas" I will be sharing a beer each day leading up to Christmas.

Monday, December 13, 2010

The Twelve Beers to Christmas - 12

The Twelve Beers to Christmas - #12
Professor Fritz Brien, 1809 Berliner Weisse

This light bodied wheat based sour beer is the perfect choice after setting up the Christmas tree.  Crisp and citrusy with a light sourness, this low hopped, unboiled beer hits the spot.  It is brewed with a traditional sour mash as well as lactobacillous fermentation, giving it a wonderful tart flavor, not over powering, but rather balanced for this small a beer.

In this segment, "The Twelve Beers to Christmas" I will be sharing a beer each day leading up to Christmas.

Thursday, December 9, 2010

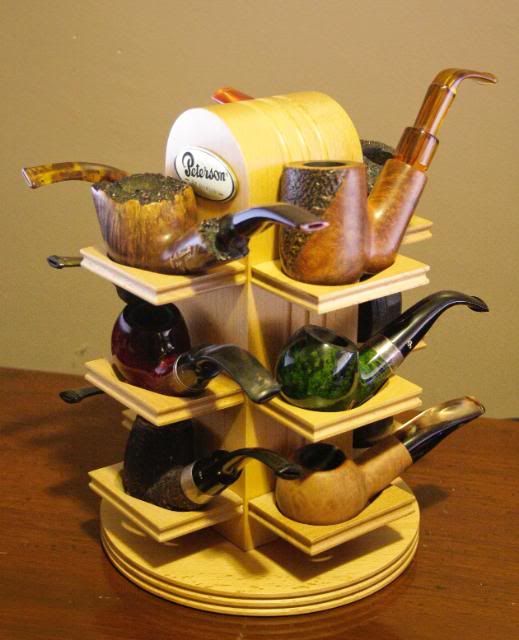
Not by Beer Alone - Boswell Pipes

Man can not live on beer alone, try as we may.  There are few things that compliment a fine beer better than a good smoke.  A quality briar pipe will give you years of smoking pleasure for what you would spend on two or three cases of craft beer.

I have a collection of more than a dozen pipes from a variety of carvers; Savinelli, Peterson and Nording to name a few.  I've even tried my hand at caring a couple myself with enjoyable results.  But my favorite pipes are made in Chambersburg, Pa by J.M. Boswell & Son.  To say that they are the best pipes in the world would likely be an understatement.  Buying a Boswell pipe is like "coming home".  It's not just that they are locally produced, smoke great and are one of a kind, but Jim Boswell is possibly the nicest person you will ever meet, definitely the nicest person who you'll ever have carve you a pipe.
My first trip to Boswell's was in the spring of 2009.  I was greeted by Jim's son, Dan, and offered a cup of coffee and told to pack a bowl of any of their custom blend tobaccos; I chose their Northwoods blend.  Several trips and four pipes later I have to say I'm hooked.  I doubt that I will ever buy a pipe from anyone else.

Tuesday, November 16, 2010

Homebrew Competition

I decided to enter my first homebrew.  It was mainly because I had to stop at my local homebrew supply shop and they just happened to be a drop off point for the competition.

I entered two beers into the Stoney Creek Homebrewers Amateur Brewing Championship.  The first was in category 10a, American Pale Ale.  I entered "Nierra Sevada" a Sierra Nevada session clone.  It is hopped with Pearl and Cascade hops, but is slightly lower in ABV than its namesake.  The second beer was a Chocolate Hazelnut Porter, this is a Jamil Zainasheff recipe.  This beer has cocoa nibs added at the end of the boil and hazelnut extract added at kegging.

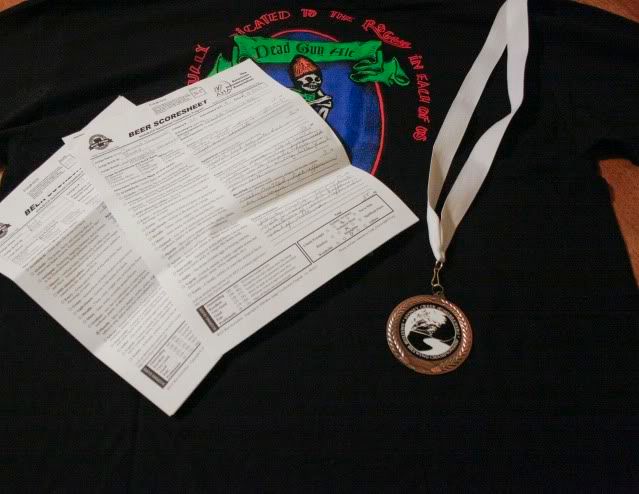
I ended up taking 3rd for the Chocolate Hazelnut Porter in category 23, Specialty Beer.  This, being the first competition I've entered, is also my first prize I've taken for a beer.  I received a bronze metal for the porter, a t-shirt and got my score sheets back.

The score sheets are great!  The judges give you feedback on each of your entries.  I was very glad to hear the recommendations to add more late hop additions to my Nierra Sevada and that the Choc. Hazelnut Porter could be improved by cutting back on the hazelnut extract.  The positive feedback alone is worth entering... the metal is pretty cool too.

Thursday, September 23, 2010

Bulk Grain Storage

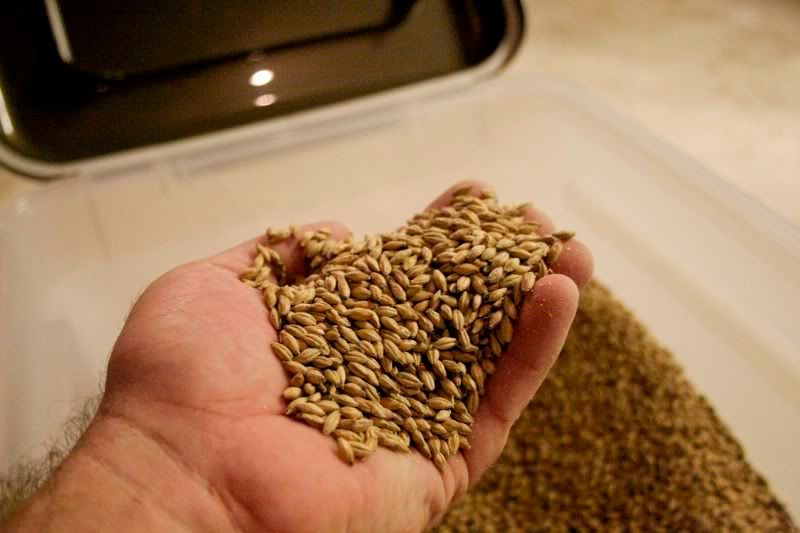
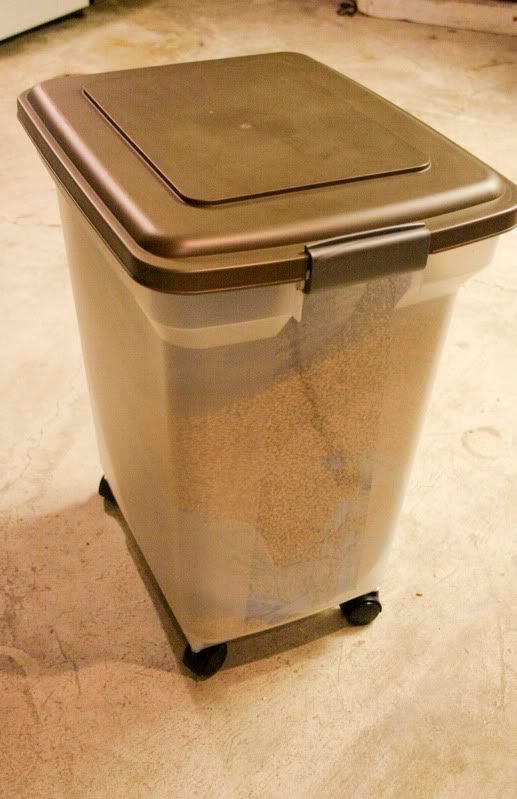
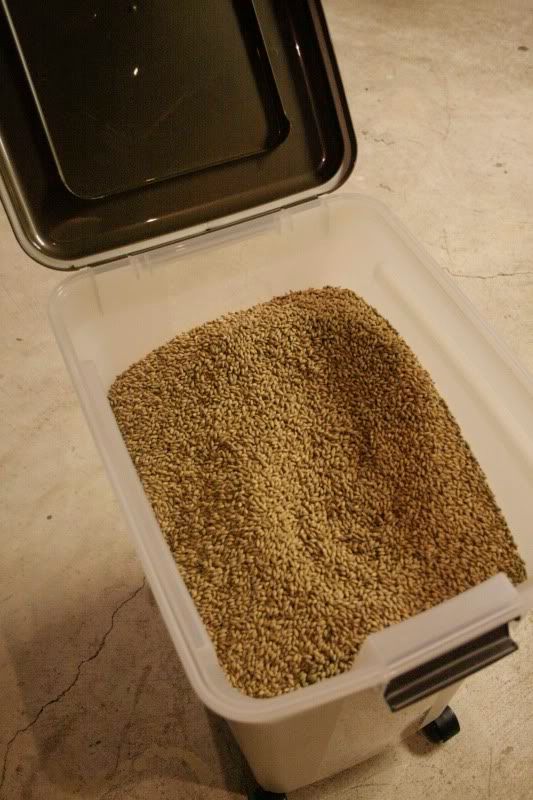
What do you do with over 100 lbs of Maris Otter?  Well, you could brew about ten session beers, maybe 8 average beers or 5 high gravity, but until I decide what to brew and when I'm just gonna find a nice place to store it.

I purchased air-tight plastic bins, available at Tractor Supply or Pet Smart, that have casters.  I got two 56 quart bins which each hold a 55lb bag perfectly as well as a 32 quart bin from lesser amounts of grain.


Tuesday, September 7, 2010

Mash Tun

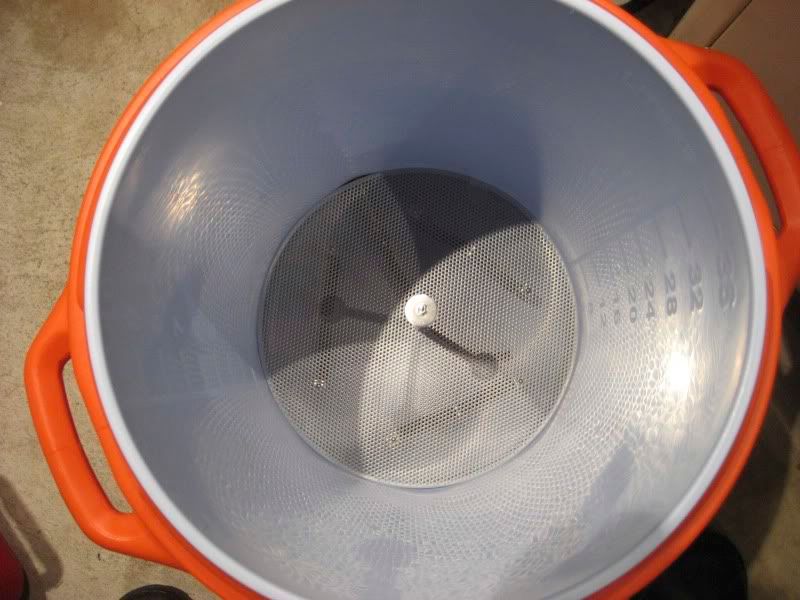
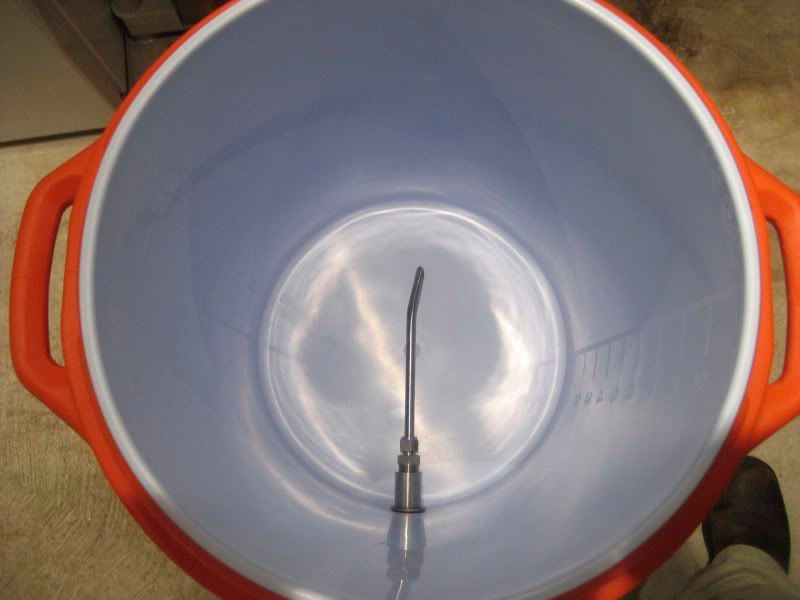
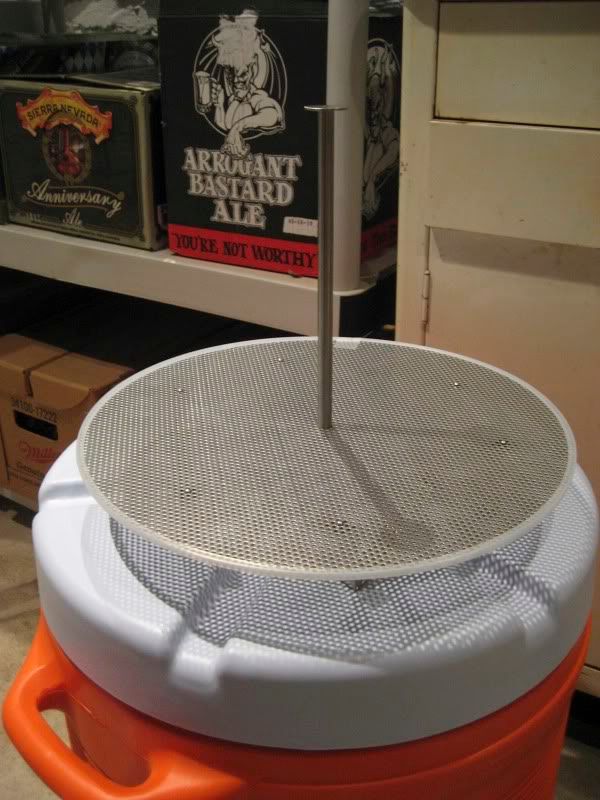
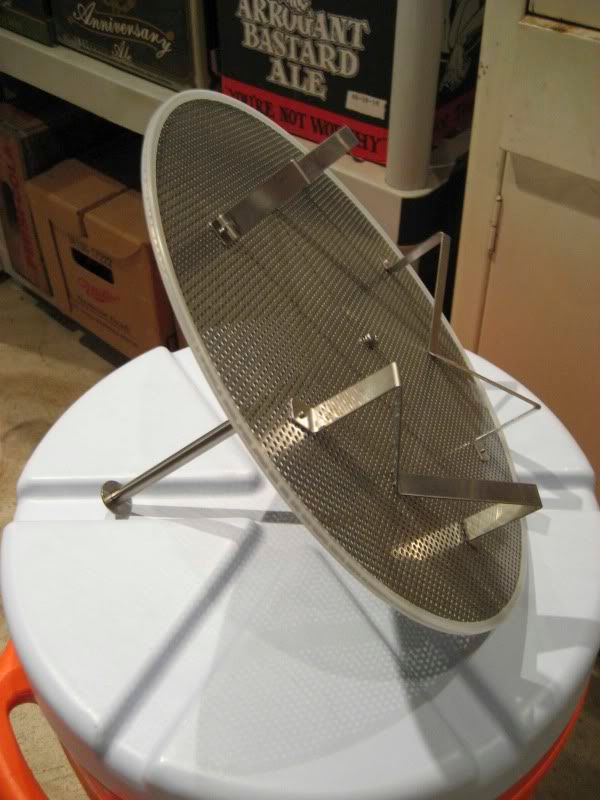
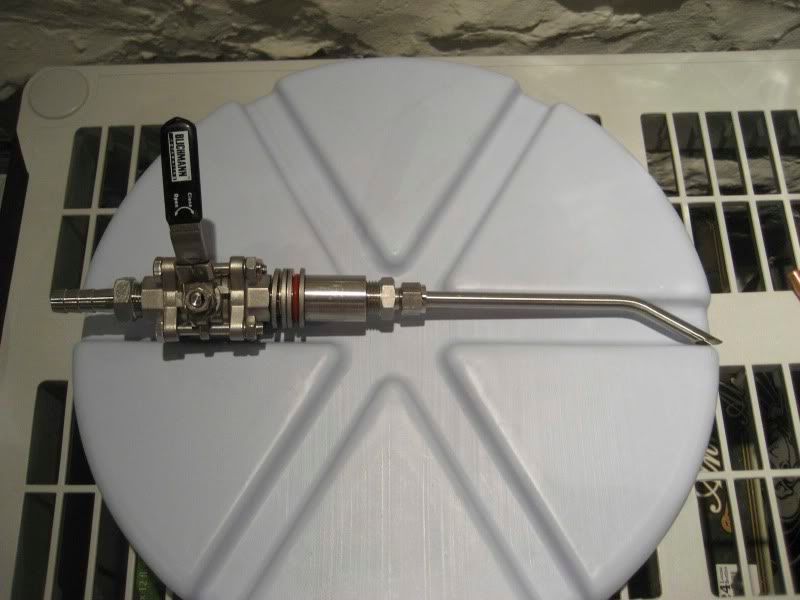
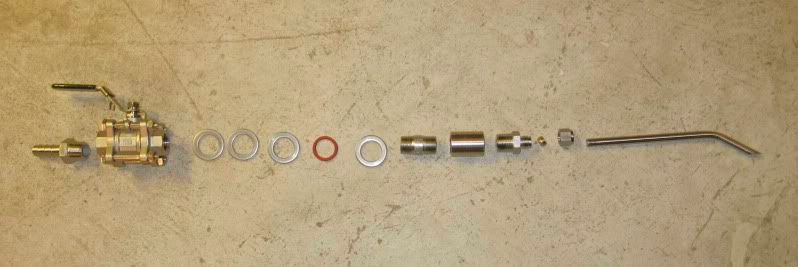
Summer is over and that means its time to start brewing again.  What better way to jump back into things than by making a new mash tun.
 I've had the 10-gallon cooler for months; I bought it on clearance over the winter at The Home Depot for $32.00.  I waited a few more months to sort out and purchase the stainless steel hardware, mostly from McMaster Carr.  Just last week I purchased the last parts, a mash paddle and a false bottom, both from Keystone Homebrew.


Photobucket

Photobucket


Photobucket


Photobucket


Photobucket

Monday, May 24, 2010

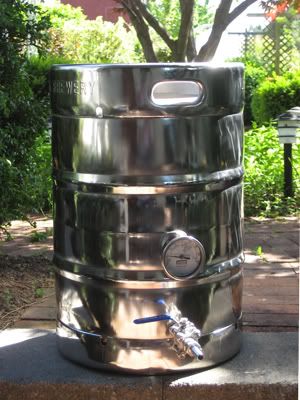
Keg Polishing

Put a few hours of elbow grease into showing your buddies just how seriously you take brewing.
 Polishing this keg took me about 8 hours, it looks great, makes clean up easier and draws lot of compliments.
You'll need the following....
  • (1) angle grinder - LINK -
    • If you buy a good one you can pretty much run the thing constantly and still have it for other projects.  If you opt for a cheap grinder it will over heat and you may have to stop to let it cool, either that or burn it up and toss is.
  • (1) backer disk for the pad you will use - LINK -
    • This gives support for the disc your will be using.  You'll need it for both the finishing disc and polishing pad.
  • (6) Finishing Discs - LINK - 
    • This removes paint, rough spots and brings the keg to a relative shine.  The finishing disc will leave swirl marks in the keg though.
  • (6) Polishing Pad - LINK -
    • This, along with the compound, removes the swirl marks and brings the keg to a mirror shine. 
  • (1) Stick of polishing compound -LINK-
    • The compound is really what does the work, you are just using the pad to apply it and work it into the metal.  Look for one that says it is for stainless steel or hard metals.
Start by scraping any labels off the keg with a razor and some solvent.  If there are any real big scratches try hitting them with some 100 grit sand paper by hand.  Make sure the keg is clean of gunk and dry before you start up with the grinder.  Take your time and work in sections around the keg with the finishing disc.  The finishing disc will bring the keg to a shiny finish, but it will leave swirl marks.  Try to get the entire keg even with the finishing disc before you switch to the polishing disc.  When the discs start to load up with material switch to a new one.  It took me 6, you may need more or less.

To remove the swirl marks left with the finishing disc you will need the polishing pad with buffing compound.  Apply the compound by spinning the pad up to full speed and then gently touch the polishing compound to the pad.  Start in the center and pull to the edge of the pad.  The polishing compound is like a big crayon; be sure to remove any paper around the stick so you don't get that on the pad.

The polishing goes through "stages".  I'd advise starting on a small spot and polishing it until you reach a bright mirror finish so you see how far you can take the keg.  Add the compound to the pad, buff and repeat.  Your not doing any good running a dry pad on the keg, make sure you have plenty of compound.  Once you get that small spot to the shine you want work in sections around the keg. 

When you've reached the finish you want, clean any left over compound off with some solvent.  Give the keg a good scub, inside and out and you will be ready to brew.  Note: don't use brillo or green scrubbies on the polished surface as it will scratch it.

The bottom of my keg has discolored slightly from my burner about 6 inches from the bottom.  I'm fine with this and don't see myself going back to repolish it.  You could applying a small band of high temp. engine paint to the bottom of the keg to hide this.


Hops Trellis


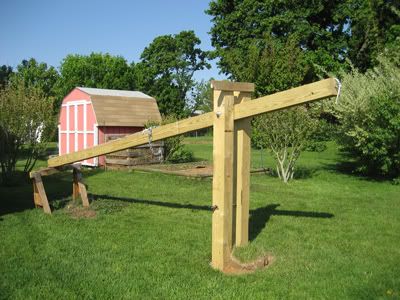
Anything worth building, is worth over building!  Why use 4x4 construction when you can use 6x6?  Why use regular lumbar when you can use pressure treated?  Did you know they make 6x6s 16-feet long, well they do.  
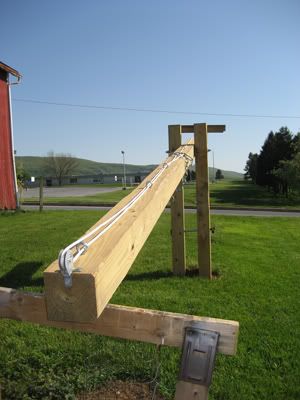
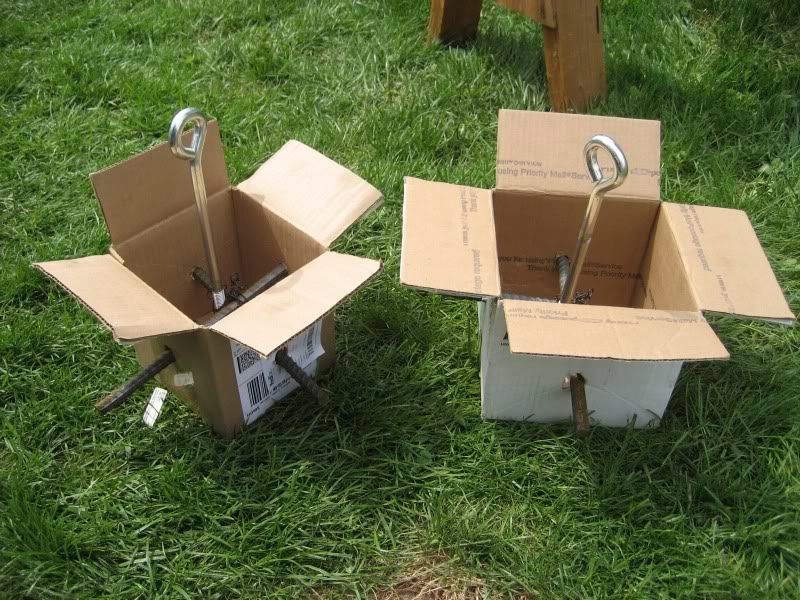
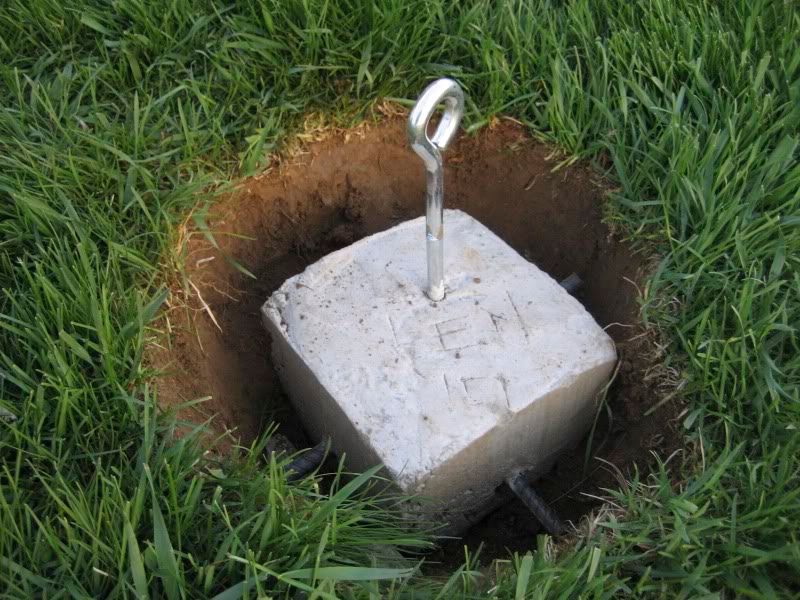
Towering at more than18 feet, anchored with over 400lbs of concrete and able to be both raised and lowered, this mega-structure is perfect for my Cascade and Willamette hops.
Check out the anchors for the ropes.